jacket tote continued

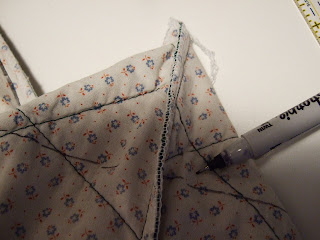
Flatten the bottom of the tote, lining the side seam up with the bottom seam. I measured around 3 inches from the edges on both sides and drew a line. Sew on the line at least twice. This will give your tote depth.

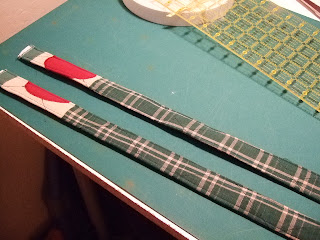
This is one of the sleeves....cut on the seam and the cuff removed. I squared it up and there was enough to split up the middle. I covered it around a piece of webbing to give the handles some oomph. (like my technical sewing terms!? hehehehehehehe)

Here are the completed straps. I kept the apples in there..I don't know why. Just seemed right.

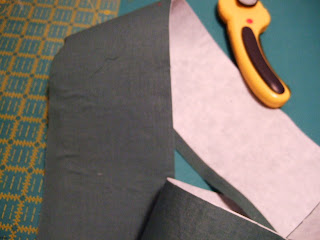
I found a resonable match to the color and made a facing. Basically just a straight piece of fabric...interfaced and edges finished. Sewed it around the top sandwiching in the handle. I centered them ...took a couple of tries before I was happy. Ironed the facing down.

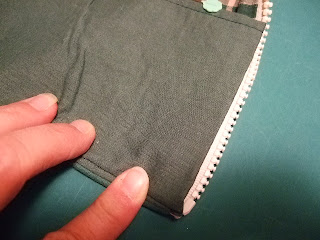
Hand stitched along the zipper.
It was not cooperating in staying down...so I just fused it a bit with pieces of original fusable (can you say ANCIENT???? lolol) The bottom of the bag is a big 'baggy' so I may decide to interface the sides and bottom if the inserted bottom is not enough.

One last touch. I decided to put a button with a loop of elastic at the top of the zipper. I doubt if I will use that zipper much, but really didnt' want to take out . The button will help keep that stable.

VOILA! new tote! I will show you the bottom stablizer when I get it made. I looked at some premade lucite ones, but none of their sizes fit. Drat!

Comments